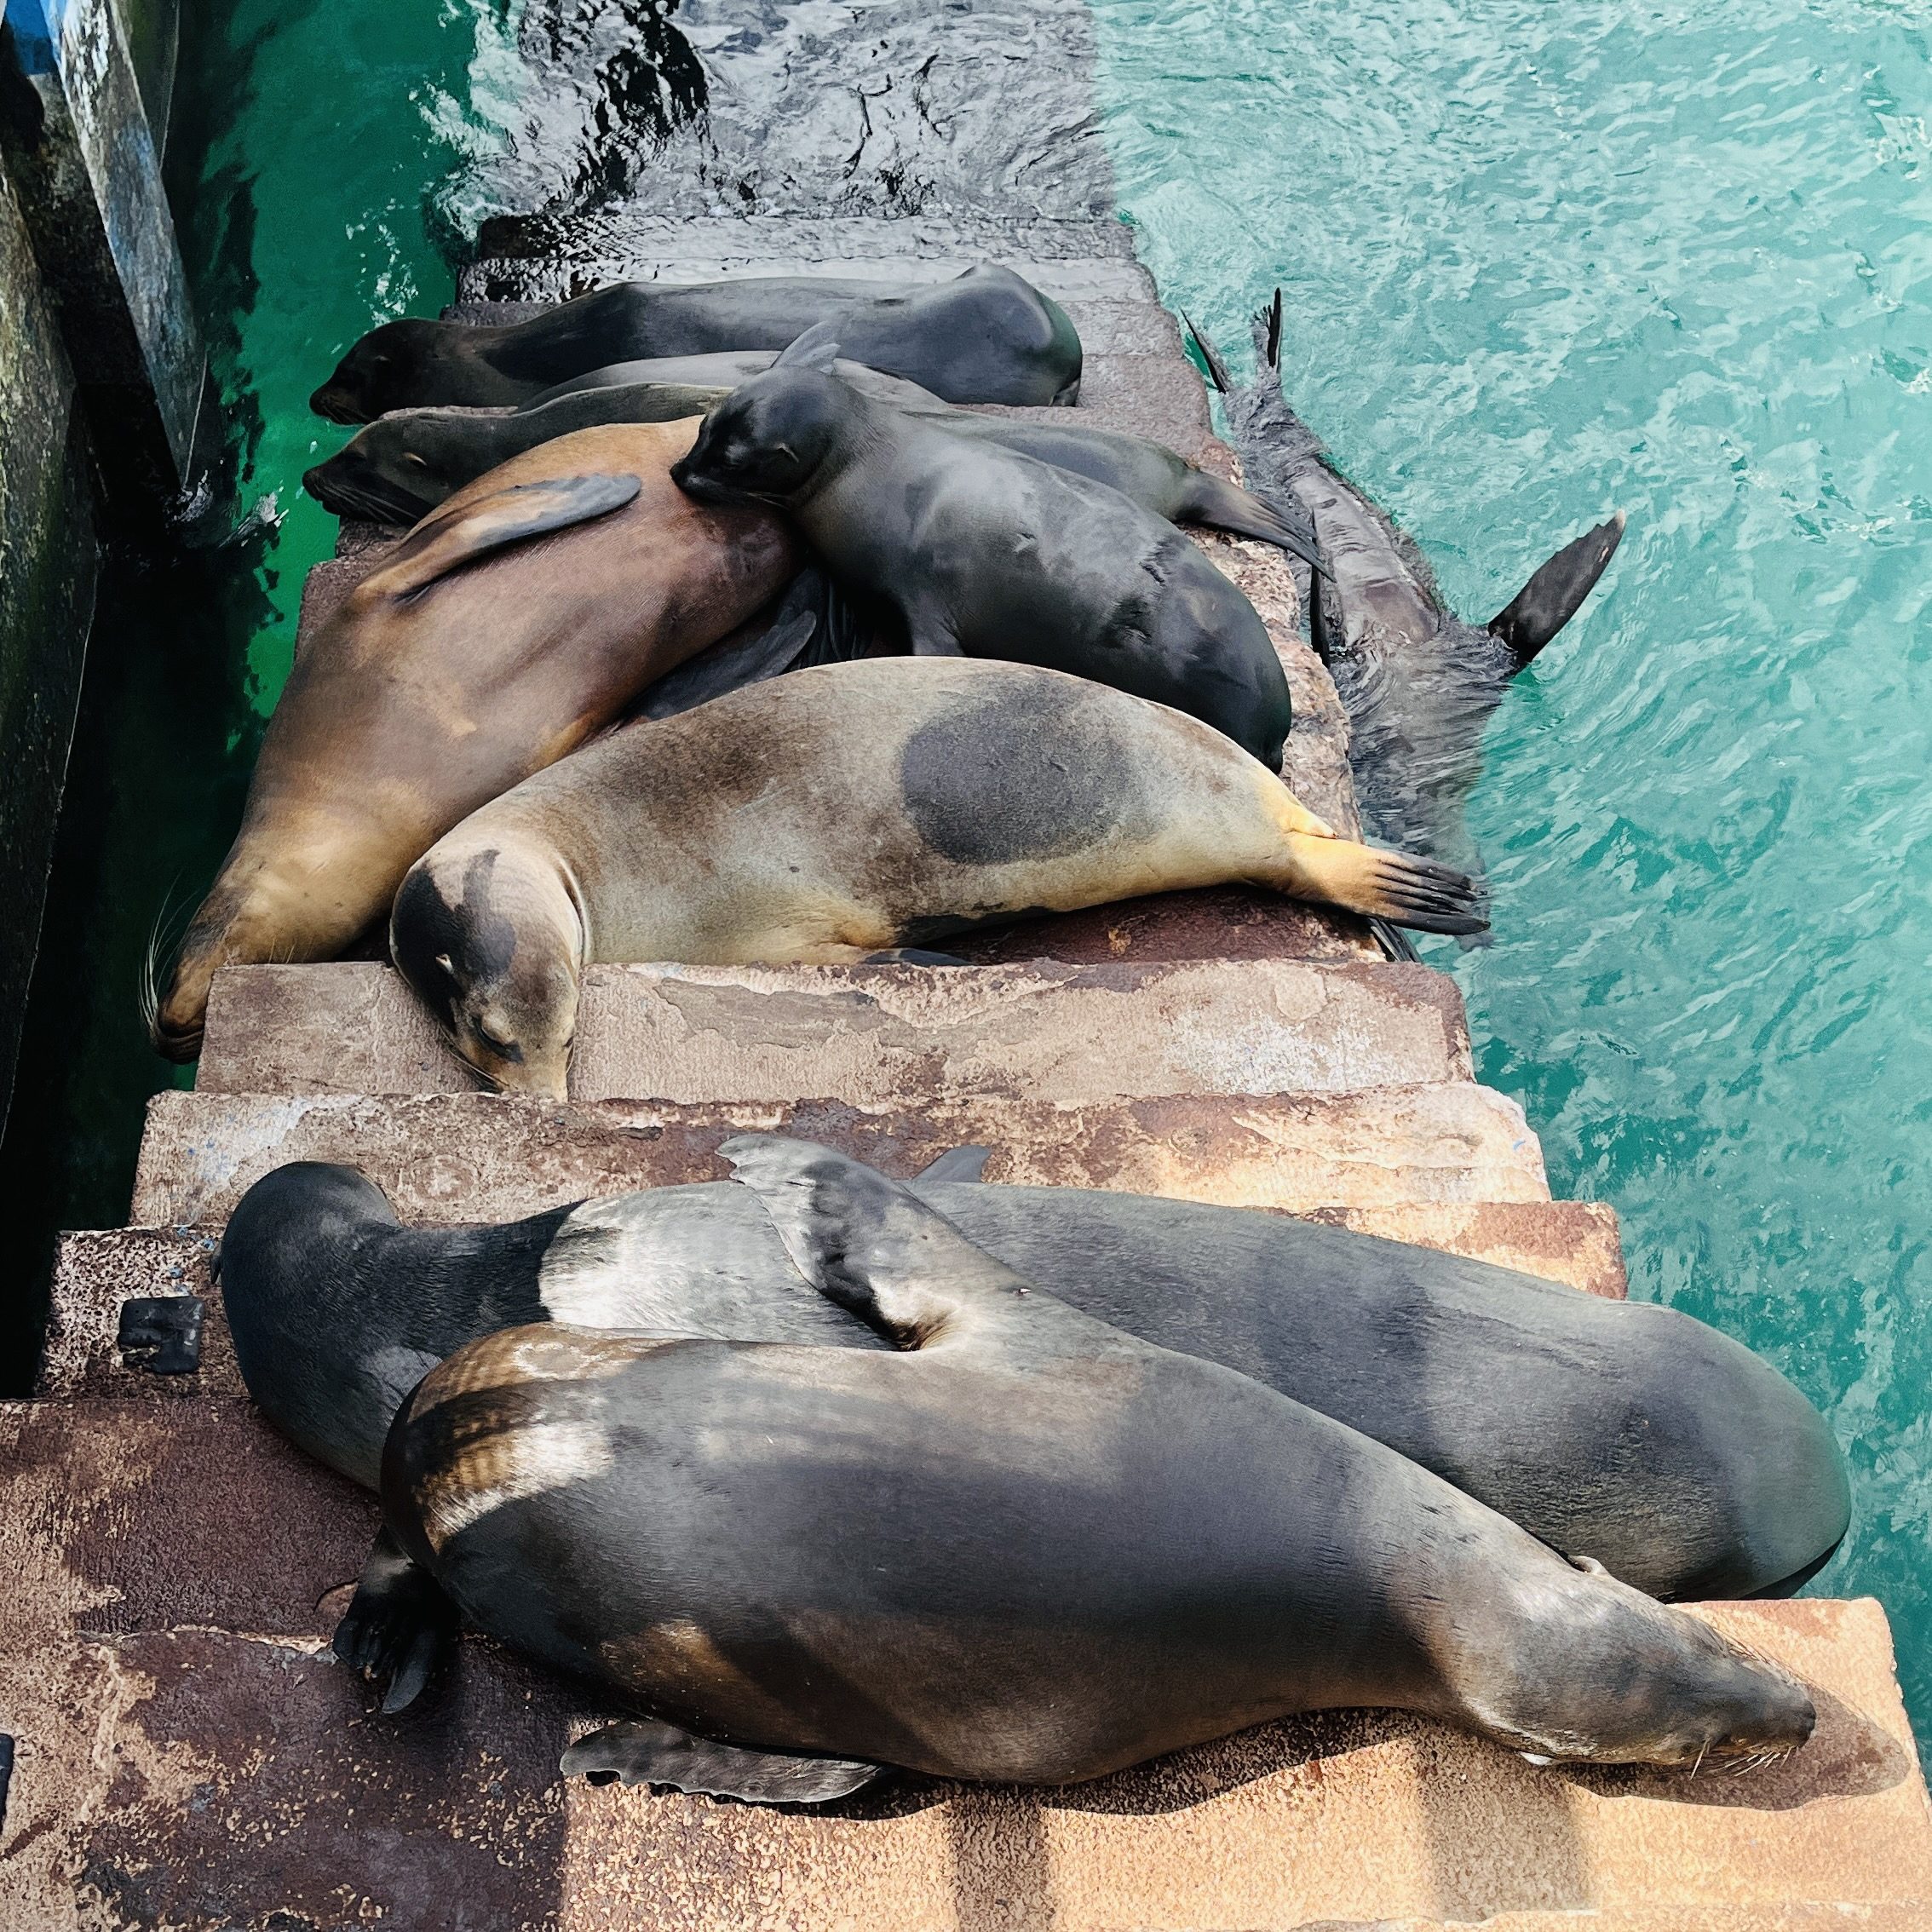
Most Galápagos packing lists read like a generic tropical travel packing checklist with a few sea lions sprinkled in. This one is different. We did this trip independently, island-hopping from San Cristóbal to Santa Cruz to Isabela, and every item on this list was tested in real conditions: blazing equatorial sun, choppy inter-island ferry crossings, snorkeling in cool Humboldt Current waters, and sandy lava trails that destroy the wrong shoes.
The Galápagos has a few packing realities that most guides underestimate. The UV exposure here is severe and comes from multiple angles (sun above, reflected water below). Snorkeling isn’t optional if you want the best encounters. And the inter-island boats are small enough that motion sickness can derail a full day if you’re not prepared. Get these three categories right and the rest is straightforward.
🛡️ Disclosure: This post contains affiliate links. If you click through and make a purchase, we may earn a small commission at no extra cost to you. Thank you for supporting EpicScenic and helping us create more travel guides like this.
Table of Contents
Table of Contents
What Makes a Galápagos Packing List Different
The Galápagos sits directly on the equator, which means UV radiation hits from above and bounces off the water at full intensity. On snorkel days, you are exposed from both directions simultaneously. We both got sunburned on the backs of our legs just from floating face-down in the water for 40 minutes, despite reef-safe sunscreen applied beforehand. That detail changes how you think about rash guards.
The islands also have no large stores. Santa Cruz has the most infrastructure, but “a few pharmacies and a small grocery store” is roughly what you’re working with. If you forget something essential, your option is either paying an inflated price at a tourist shop or going without. Packing intentionally here is not optional, it’s the difference between a frustrating trip and a fluid one.
Finally, the boat rides between islands range from 2 to 2.5 hours each section on open-ocean ferries that are small enough to feel every wave. If you’re prone to motion sickness at all, this matters.
📸 Camera Gear: Land and Underwater
The wildlife in the Galápagos is famously unafraid of humans. Marine iguanas will stare at you from two feet away. Sea lions will swim circles around you underwater. This means you don’t need a long telephoto lens the way you would on safari unless you really want to. What you do need is a camera that performs well in variable light, handles glare well, and at least a camera that has some form of underwater capability.
What we brought:
For land photography, we used the Sony Alpha a6600 paired with two lenses depending on the day. The 16–55mm f/2.8 G was our go-to for wider scenes, coastal landscapes, and anything where we needed good light in shaded or overcast conditions. For wildlife, we brought the Sony 200–600mm G OSS, which sounds like overkill until you’re watching a blue-footed booby at 30 feet away and you want to fill the frame cleanly. The combination is heavier than a single all-in-one zoom, but the image quality difference is visible. If you want to travel lighter, a Sony E 55-210mm F4.5-6.3 or equivalent covers most situations without forcing you to swap lenses near salt water — it’s a genuine trade-off, not a wrong choice.
A tripod is worth bringing if you’re serious about photography. Sunrise over the harbor in San Cristóbal, marine iguanas on lava rock at golden hour, or long-exposure water shots on the coastal trails — these are exactly the conditions where a tripod makes the difference between a sharp image and a blurry one. We’ve been using the K&F Concept K255A4 lightweight tripod, and it’s been reliable across the kind of terrain the Galápagos throws at you: uneven lava rock, sandy surfaces, ocean wind. It’s not a full studio tripod, but it handles telephoto lenses well and folds down small enough that it doesn’t become a burden. If you’re a casual photographer or shooting exclusively with a phone or a compact camera, skip it. If you brought a good camera setup, pack the tripod.
For underwater, we used a GoPro housed in its underwater case and mounted on a floating pole. It’s durable, wide-angle, captures both stills and video, and you’re not worried about dropping a $2,000 camera into the Pacific. The footage of sea turtles, sea lions, sharks, and Galápagos penguins underwater on a GoPro is consistently better than what most people get with phone housings, and the form factor means you can swim freely.
🤿 Snorkel Gear
Bring your own. This is not standard advice we’d give for every destination, but in the Galápagos it genuinely matters. Rental gear on the islands exists, but fit is inconsistent, masks fog easily, and you lose access to snorkeling spontaneously from beaches when there’s no rental shop nearby. On our trip, some of the best underwater moments happened at free public areas outside of any organized tour, and having our own gear meant we never had to skip them.
What made a difference:
A full-face snorkel mask eliminated the fogging problem almost entirely, but they’re controversial for technique. If you’re a strong swimmer who wants the cleanest view, a traditional wide-view silicone mask with a separate dry-top snorkel works well. Anti-fog spray or gel for the lens is worth the extra space in your bag.
Fins are technically optional for calm-water beach snorkeling, but they’re worth it for the deeper snorkel sites. The current around Isabela and on the outer sides of San Cristóbal is stronger than it looks.
A rash guard is something we did not bring on this trip — and genuinely regretted it. We’ve used them on previous snorkel trips and know the difference firsthand. The equatorial sun hits from above and reflects off the water below, meaning your back, the backs of your legs, and your shoulders take double exposure every time you’re face-down in the water. Long sleeves, UPF 50+, lightweight — it’s a small addition that eliminates a real problem. We’d pack one without question on a return trip.
☀️ Sun Protection
Reef-safe sunscreen is not just an ethical choice in the Galápagos, it is actively enforced in some areas and strongly encouraged island-wide. Oxybenzone and octinoxate damage coral reefs; the Galápagos Marine Reserve is one of the most protected marine environments on the planet, and the park takes this seriously.
We used an SPF 30 sunscreen for this trip, but we won’t recommend it here. Beyond not being truly reef-safe for the Galápagos Marine Reserve despite their lable, SPF 30 was simply not enough: we got burned on day one despite thorough application. The equatorial sun is more intense than most people expect, and water reflection compounds it significantly. For any water-based activity, snorkeling especially, you need a sunscreen that is mineral-only, meaning the active ingredients are exclusively zinc oxide and/or titanium dioxide, with no chemical filters alongside them. Labels like “reef friendly” and “Hawaii Act 104 compliant” do not guarantee this, so always check the active ingredients list. What we now use and recommend is the Badger Sport Mineral Sunscreen SPF 40, which meets that standard, holds up in the water, and is what we bring on any trip involving reef or marine environments. Whatever brand you choose, reapplication every two-to-four hours is not optional here; it is damage control.
For the face, a lightweight sun hat with a full brim is worth the packing space. On the trails and during boat excursions, you’re exposed for extended stretches with no shade. Sunglasses with polarized lenses also matter here: the glare off the water makes them non-negotiable, and polarized lenses specifically help you spot marine life just below the surface during snorkeling.
💊 Motion Sickness and Health Essentials
The ferry crossings deserve their own section because they surprise almost everyone who didn’t prepare. The boats that run between San Cristóbal, Santa Cruz, and Isabela are small open-ocean vessels, typically 40 to 60 feet long, crossing open water in conditions that can include significant swells. The crossing to Isabela from Santa Cruz takes about 2 hours and involves the roughest water. On our trip, nearly half the passengers on one crossing were visibly unwell by the halfway point.
We both took Meclizine 25mg (they cause less drowsyness than Dramamine) the morning of ferry crossings. I wished we had taken it also the night before as well, because it builds up in your system. The day-of dose alone is less effective if you’ve never taken it. Sea-Band acupressure wristbands are a supplement, not a replacement, but some people swear by them as a backup layer.
Ginger candies are useful as a natural option and take up almost no space. Keep them in an accessible pocket during the crossing.
Beyond motion sickness, bring:
- A basic first aid kit (blister patches especially; the lava trails are rough)
- Any prescription medications with extra supply
- Oral rehydration salts; the heat and physical activity can deplete you faster than you expect, especially if you get food poisoning.
- Insect repellent (not as critical as mainland Ecuador but relevant for some inland trails)
A note on insect repellent: The Galápagos is not the insect gauntlet that mainland Ecuador can be, but biting flies on inland trails are real and worth preparing for. Our approach: treat clothing and gear (for land) with Sawyer Permethrin before the trip. One application lasts up to six washes, it is odorless once dry, and since it never touches your skin directly it raises no concerns around reef or marine environments. For skin-applied protection on inland trail days, Sawyer Picaridin 20% is our preference over DEET: it is non-greasy, safe on camera gear and watch straps, and effective against the sandflies and biting flies you are most likely to encounter. One important note: do not apply any skin repellent before snorkeling or swimming. Wash it off thoroughly before entering the water, both for the health of the marine environment and because the Galápagos National Park takes these things seriously.
👟 Footwear and Clothing
The trail surfaces in the Galápagos are primarily volcanic lava rock, compacted sand, and rough coastal paths. They’re not technically demanding, but they are abrasive and uneven. Sandals are fine for town and beaches. For the trails, you need a closed-toe shoe with grip, thick soiles, and ideally some ankle support.
We used lightweight hiking shoes, not full boots. The terrain doesn’t require heavy boots, and the heat makes anything insulating uncomfortable quickly. What matters is the sole: lava rock shreds thin soles fast, and in some trails you can find thick spines on the ground that can penetrate thin soles. A vibram or similar rubber sole with real grip is worth it.
For clothing, the approach is: fewer, lighter, UPF-rated where possible. The temperatures are warm year-round (mid-70s to high 80s°F / mid-20s to low 30s°C year-round), humidity is moderate, and you’ll be switching between land excursions, boat decks, and snorkel sessions. Quick-dry fabrics are more useful than cotton. A light windbreaker or packable jacket is worth bringing for the evening boat crossings and cooler highland trails on Santa Cruz.
🧳 Bags and Dry Storage
Two bags worth thinking about specifically:
A dry bag matters most on snorkel and dive boat tours, where smaller open vessels mean water gets on everything. On the inter-island ferries, you can typically store bags below deck or under cover, so the risk is lower — but if you’re on a seat near the edge during a rough crossing, a dry bag still earns its place. We used it primarily during marine tours and have always trusted this one from our gear page. Roll-top closure, shoulder strap, holds a day’s essentials without bulk.
How much bag you need depends entirely on your day. On snorkel tour days, you’re handing your gear to a boat crew and going in the water — a small dry bag or a packable tote is enough. On trail and wildlife days, where you’re carrying water, sunscreen, camera gear, and snacks for three to four hours in the heat, you want a proper daypack. We carried the Lowepro ProTactic 450 AW II for days with the full camera kit (it fits the a6600, both lenses, and all accessories), and switched to drybag for days when we weren’t bringing the full setup. If you travel light or aren’t bringing large camera gear, a 15–20L daypack with padded straps is all you need. Don’t overthink it.
💰 What We’d Skip
A large hard-sided suitcase. You’re moving between three islands on small ferries and staying in modest guesthouses. A carry-on and/or backpack or a soft duffel is all you need and far easier to manage.
Multiple camera lenses. Unless you’re a professional photographer, one mid-range zoom is sufficient. Changing lenses near the ocean is a real risk, and the close-up wildlife negates the need for extreme telephoto.
For full specs, alternatives, and links to everything we use across all destinations, see our Travel Resources & Equipment We Trust page.
And if you haven’t read the full itinerary yet, start there. It covers the day-by-day route, what to expect on each island, logistics, costs, and the wildlife encounters we’d plan all over again.
👉 5-Day Galápagos Islands Itinerary →
🖼 Love the photos in this post?
Some of these images may be available as high-quality prints in different formats 👉 Bring a piece of this destination into your home via my Etsy store
One response to “Galápagos Packing List: What to Actually Bring”
-
[…] Packing for the Galápagos has a few non-obvious requirements, from reef-safe mineral sunscreen to motion sickness prep for the inter-island ferries. We put together a dedicated gear guide covering everything we actually brought and what we’d do different → Galápagos Packing List: What to Actually Bring […]
⚠️ Disclaimer: All content, including travel itineraries, tips, and photography, is based on personal experience and provided for general informational purposes only. Conditions and details may change without notice. EpicScenic is not liable for external changes or decisions based on this information. Travelers are encouraged to verify all critical details independently.
Disclosure: Some links on this page are affiliate links. This means that if you click through and make a purchase, I may earn a small commission — at no extra cost to you. These small earnings help support the creation of free travel guides and premium content across EpicScenic. I only recommend gear and services I’ve personally used, trust, and genuinely believe in based on real travel experiences.
Leave a Reply